Astavakrasana Yoga Arm Balance
A series of exercises for beginners to make learning and understanding this arm balancing yoga pose easier
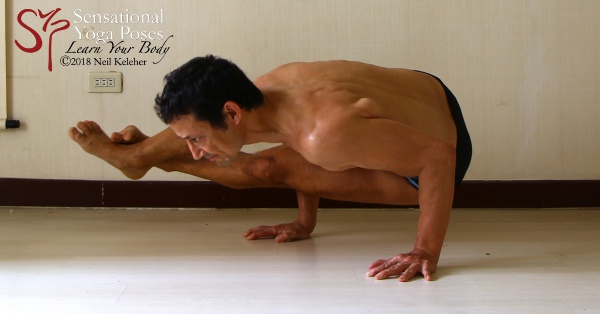
Astakakrasana is an arm balancing yoga pose.
One of the nice things about this particular arm balance is that it doesn't require alot of flexibility. You also don't need to be super strong.
This arm balance can be a little bit tricky to learn because it is one of only a few arm balances (if not the only arm balance) where the ankles are crossed. This can make it a little bit trickier to teach and to learn.
To make learning astavakrasana a little bit easier, it can help to use the following exercises to get a better feel for and understanding of your body.
Shifting Your Upper Body Relative to One Hand
(an Astavakrasana Preparation Exercise)
Perhaps one of the trickiest elements of astavakrasana is lifting the hips up off of the floor.
In order to balance the weight of the body over your hands you need to shift your body forwards relative to your hands. This next exercise can help you to feel and understand this principle of balancing.
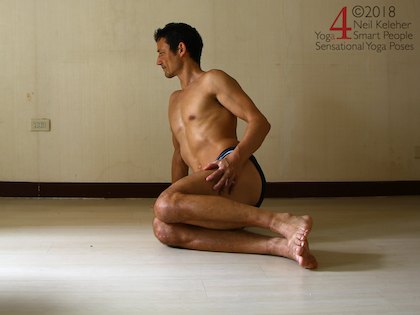
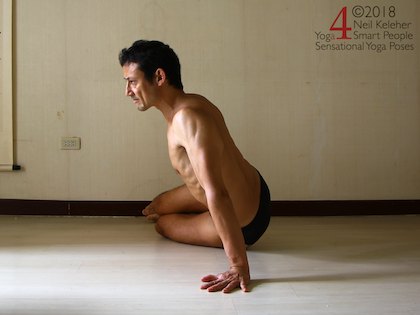
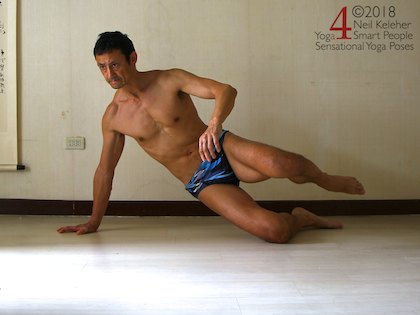
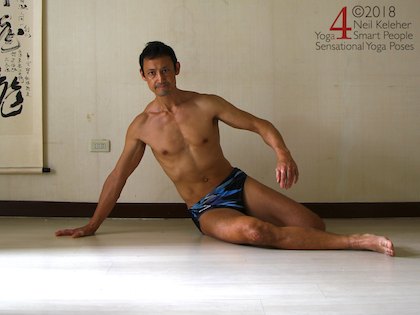
With your hip and the same side hand on the floor as shown, position the knee and foot of the bottom leg in line with your supporting hand with your hips behind this line. Position your shoulder over the wrist.
Try lifting your hips without moving your shoulder, knee or foot.
You should find that you can't lift your hips.
Next try to do the same thing but allow your bottom foot to move back. You should find that you can press your foot down in order to lift your hips.
Next, reposition the foot so that it is again in line with your knee and hand.
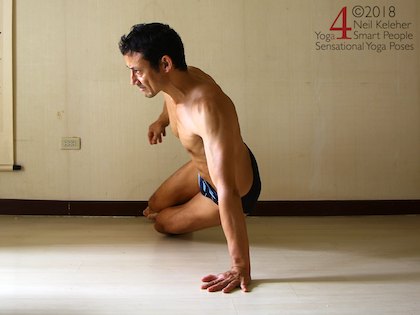
This time to lift your hips, lean your shoulder forwards, ahead of your hand.
Lean your shoulder forwards far enough that you can lift your hips. Lower and repeat a few times, moving your shoulder forwards so that you can then lift your hips, and then moving it back over your wrist after lowering your hips. Then repeat a few times on the other side.
Try doing each of the movements slowly and smoothly.
Shifting Your Upper Body Relative to Both Hands
(an Astavakrasana Preparation Exercise)
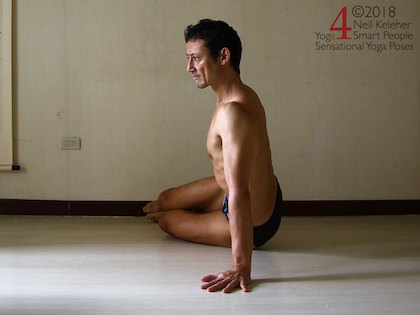
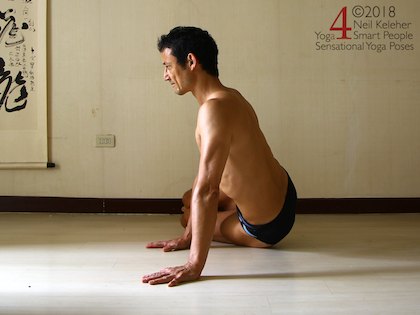
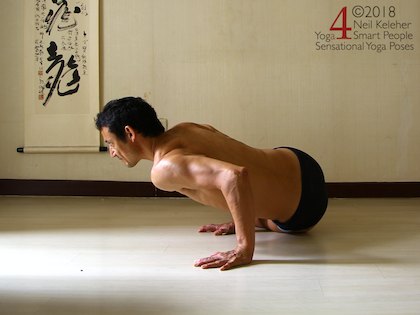
For the next exercise position both hands on the floor in line with your knee and foot with the fingers pointing forwards and the hands about shoulder width apart.
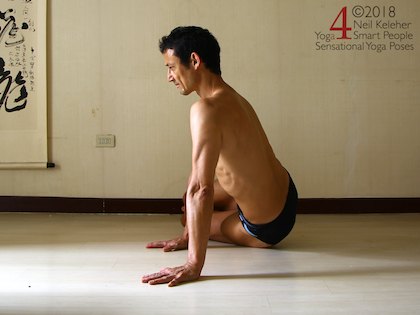
This time, protract your shoulder blades, them move your chest and shoulders forwards together, ahead of your hands and as you do so, bend your elbows, as if doing a push up.
Keep your shoulders ahead of your wrists, and in the bottom position, with shoulders at about the height of your elbows, lift your hips.
If you can't then try moving your shoulders and chest further forwards.
In both this and the previous exercise, avoid moving your bottom foot back. Keep it in line with your knee and hand(s),
Note that this exercise is actually more challenging for the shoulders than astavakrasana since in the arm balance your leg rests on top of one arm which helps to share the weight that your arms are supporting.
Practice Protraction as a Preparation for Astavakrasana
If you have a problem with bending your elbows, i.e. your shoulders feel week, practice protracting your shoulder blades prior to bending your elbows. Keep the protracted feeling as you bend your elbows and then again as you straighten them. Release the protraction when you return to the starting position.
If you find that you lose protraction as you go down, then stop at the point just before you lose it. You may find that if you move your shoulders forwards (towards your ears) or backwards (away from your ears) (experiment and feel for yourself) that you can keep the protraction even as you go lower. If not you may have to explore stabilizing your ribcage on the weak side.
You could also explore using the external arm rotators in combination with protraction on the weak side.
Pressing Down In Order to Lift Up
The next exercise teaches you how to press down in order to the hips in Astavakrasana.
Lying on one side with one hand on the floor and knees bent, lift your hips.
Notice how your bottom knee or shin presses down so that you can lift your hips. Lower your hips down and notice how your bottom leg can relax once your hips are on the floor.
Next, to lift your hips focus on pressing down through your bottom knee or shin (or both).
Press down to lift your hips, then slowly lower your hips and after your hips touch the floor then relax.
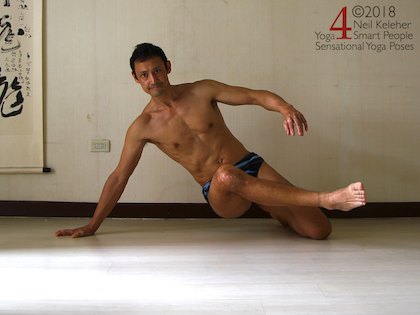
Next, repeat the exercise but using the top leg.
So that you can use your top leg, position it behind your bottom leg.
Press down with your top knee so that your hips lift, then also try lifting your bottom leg.
Lower, relax and repeat.
Practice both exercises on the other side.
Using a Variation of Eka Pada Koundinyasana to Prepare for Astavakrasana
For the next exercise, you can try a variation of eka pada koundinyasana as a preparation for getting a bit closer to astavakrasana.
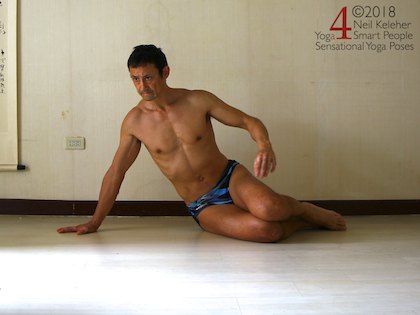
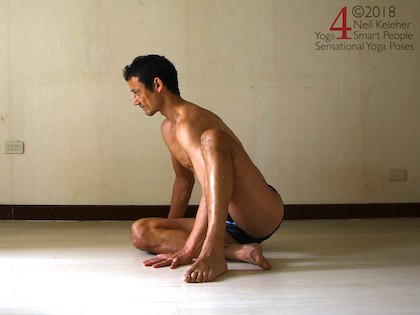
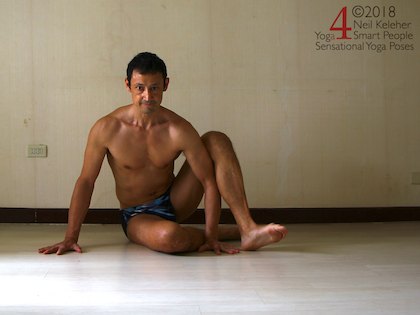
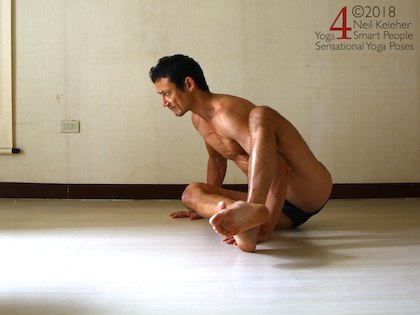
Sit in the position shown below.
Both hands are flat on the floor in front of the hips. Note how the innner thigh of the upper most leg rests against the back of the arm. Note how knee of the bottom leg is positioned on the floor between the hands.
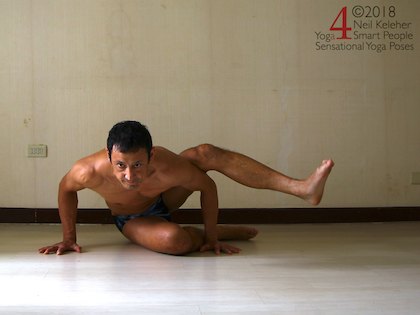
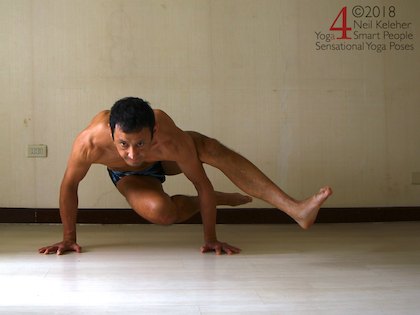
Protract your shoulder blades. Bend your elbows and reach your chest forwards, ahead of your hands. Keep your thigh against the back of your upper arm. Once your elbows are fully bent, press your thigh down against your arm so that your hips lift.
You can try this with the knee bent, but you may find it easier if you straighten the top leg so that you have more of your body in front of your hands.
Try pressing against your arm with your inner thigh as opposed to the back of your thigh.
Lower and repeat a few times.
Then try it on the other side.
Astavakrasana (Baby!!!)
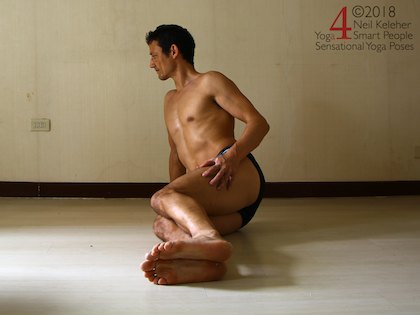
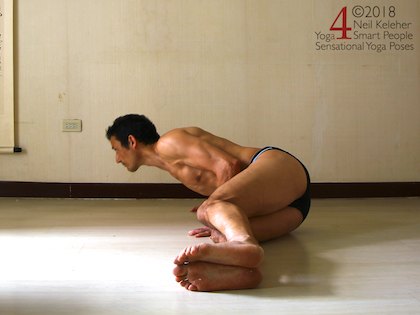
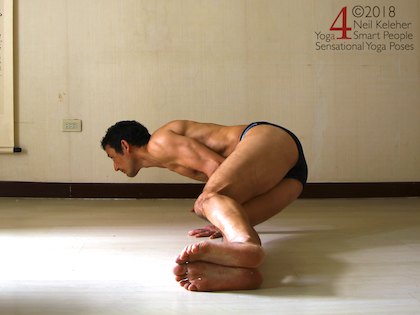
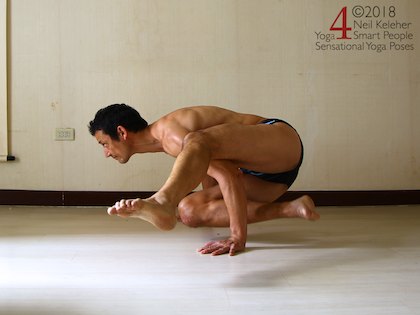
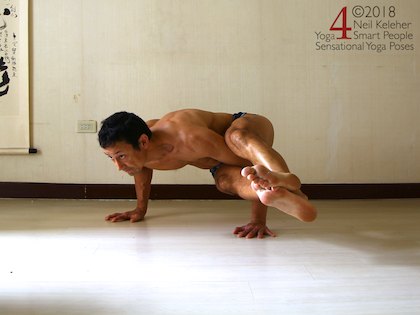
For the next exercise, hook the bottom ankle on top of the top ankle.
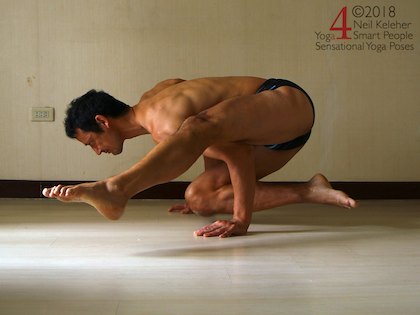
Rather than trying to straighten both knees, focus on straightening the top knee. This should automatically cause your thigh to press your upper arm. If at the same time your bend your elbows and reach your chest forwards (having first protracted the shoulder blade of the non-leg bearing arm) you may find that your hips automatically lift up. Remember, so that you can lift your hips, move your shoulders forwards, ahead of your hands, as in the picture below.
Published: 2018 04 13
